Walls and ceilings
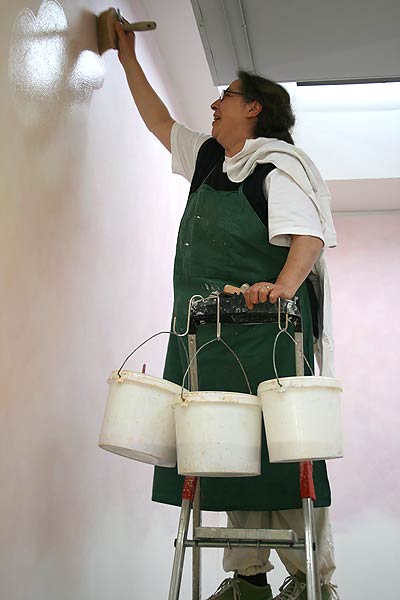
The application by wide paintbrush prevents typical brush marks when applying glazes to large surfaces. Moisten a wide paintbrush, squeeze out any excess water and dip the bristle tips into the mixed paint diluted with water. Then remove excess glaze to prevent it from running off. Distribute the glaze swiftly on the wall in circular movements ("horizontal eight"). The application of several coats in different colour shades on top of each other creates the illusion of three-dimensional depth. Each coat must be fully dry.
The stippling technique creates lively depth effects on surfaces using a sponge, which is soaked in water, squeezed out and then dabbed in the glaze paint. Then stipple the glaze onto the wall surfaces creating a dot-like texture. Renewed stippling, possibly using a more intense colour shade, increases the effect.
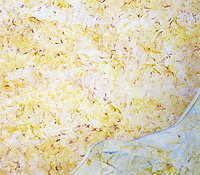
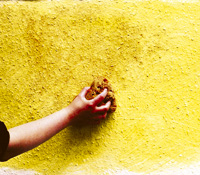
The ragging technique is an ancient method used for creating natural contrasts on a coloured substrate. A damp, lint-free linen or cotton cloth is wrung out and soaked in glaze paint. After renewed wringing out to prevent the glaze from running off, the cloth is twisted into a wrinkled wrap and rolled over the wall in criss-cross motions applying slight pressure. Wrap-around rollers which create a similar effect are available on the market.
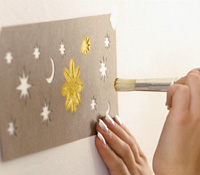
Stencils are templates cut from cardboard or strong paper for transferring coloured patterns of your own design to surfaces. Positive stencils are used to transfer the body of the pattern. Complex shapes are created by applying several overlapping coats of transparent glaze paint.
Use a stencil brush, i.e. a short, round brush with blunt cut bristles for standard jobs or an airbrush gun for sophisticated patterns.


