Sandstone look
Go for the sandstone look to achieve naturally looking walls, great both for the landhouse style and for the shabby chic.
A mixture of a sand colored plaster and a coarse rendering creates a texture and brings a warm, cosy feeling into your home.

The mixture for the color shade "Tierra"
Mixture of
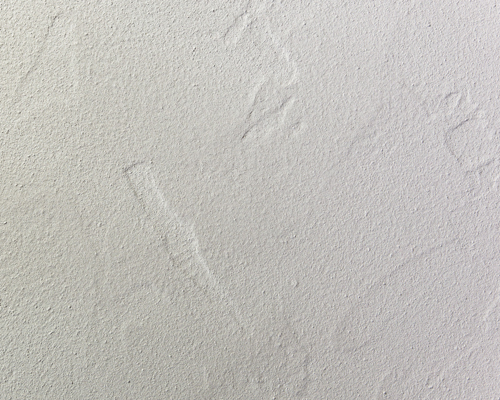
The photos of the "Step by step" intructions present the plaster in a lighter color shade "Straw" (color No. 10.2). The work steps are the same for all color shades.
The 1st and only coating
Produce a mixture of the Decorative clay plaster, the Full-shade tining color and the Roll and brush rendering. Apply the mixture profoundly with a roll, a brush or a smoothing trowel.
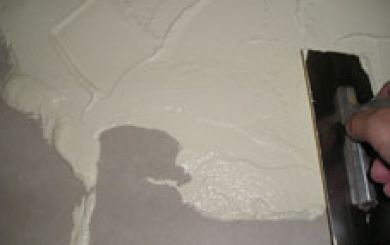
Apply approx. 1-2 m² first (consumption rate approx. 750-1000ml per m²).
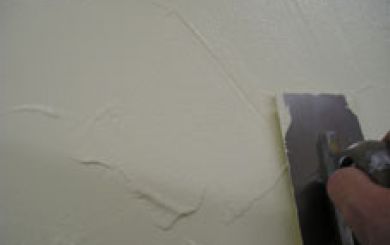
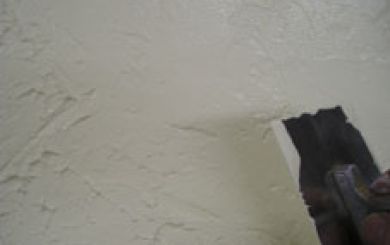
Smooth the surface with a spatula or a plastic trowel. Do not only proceed in one direction, but criss-cross the movements and leave the tracks of the trowel's edge and some bulges visible.
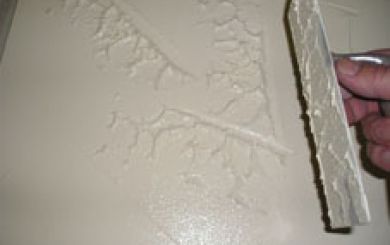
Pat the trowel into the fresh material. Depending how the trowel is moved (e.g. slightly slanted) and how strongly you pat into the material, you will achieve a different pattern.
You can place the pats close to each other or leave some space in between, it is upd to your taste. This is how you creatively produce your own texture. Should the surface become too "lively", you can still smoothen it and start over again.
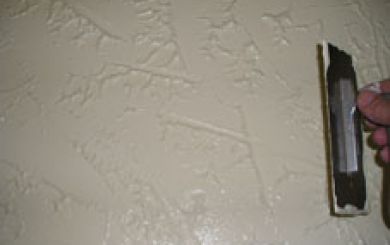
Gently smoothen the rough edges of the texture, so that some "notches" remain in the deeper areas. You can make the surface very smooth or only smooth a little, according to your personal preference.
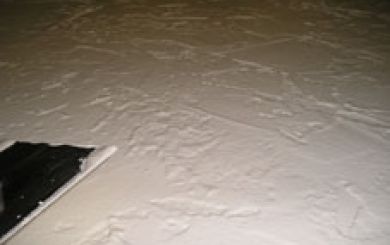
Please note, that the material will "fall" a little during the drying so the texture will get more subtle afterwards.
The look can be achieved in various colors:


The Roll and brush rendering is available in varying grain size; it influences the look:
Sandstone look with the Roll and brush rendering fine, No. 307

Sandstone look with the Roll and brush rendering medium, No. 308
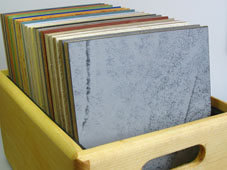
Ask your professional AURO partner for a box containing 20 samples of original coatings in the current wall design styles.
The box contains 3 samples of the sandstone technique in 3 color verions.
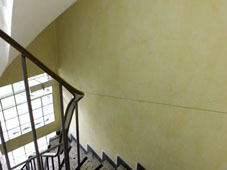
This entry hall in yellow wipe techninique of the 90s needed a new look urgently.
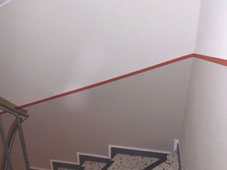
The bottom stripe has been beautified with the sandstone technique (Tierra) and separated with a narrow red stripe. It makes the entry hall look more modern and cozy.


